SYSTEM_PATH // General
Install on VMware as a Guest OS // DOCS
KERNEL: 6.7.2-berserk
STATUS: STABLE
ENCRYPTION: AES-256-GCM
list ON THIS PAGE
This guide provides step-by-step instructions for installing Berserk Arch Linux as a guest operating system in VMware Player using the Calamares graphical installer, optimized for penetration testing and security research.
You can use whatever you like or have access to either:
- VMware Player
- Vmware Workstation
the process of creating the VM is more or less same.
Prerequisites
Host System Requirements
- VirtualBox Version: 7.0+ (latest recommended)
- Host RAM: 8GB minimum (16GB+ recommended)
- Available Storage: 60GB+ free space
- CPU: Intel VT-x or AMD-V virtualization support
- Host OS: Windows 10/11, macOS 10.15+, or Linux kernel 4.0+
Download Requirements
- Berserk Arch ISO file (with Calamares installer)
- VirtualBox Extension Pack (for enhanced features)
Virtual Machine Creation
Step 1: Create New VM
- Launch VMware Player
- Click “Create a New Virtual Machine” button
- click next
Step 2: Virtual Machine Configuration
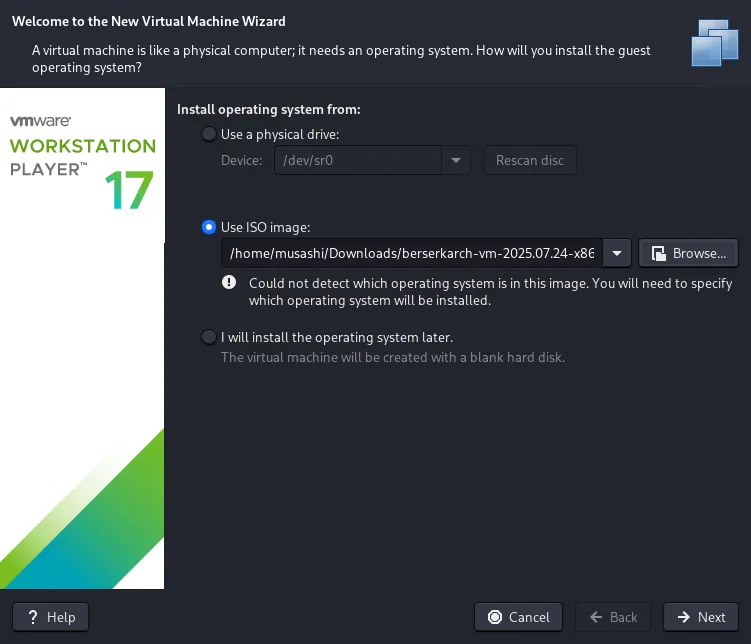
- Choose the downloaded ISO
- Click on ‘Use ISO Image’ and select the download ISO
- then click next
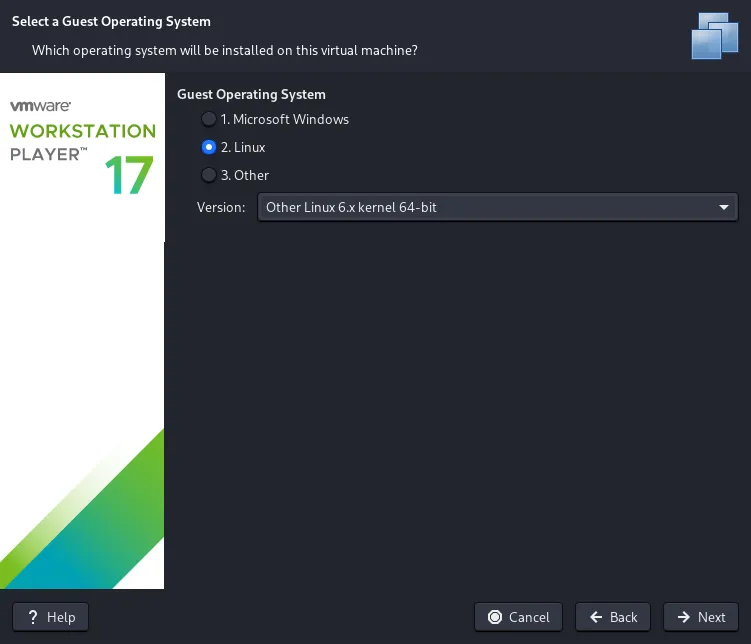
- Machine Type
- Choose ‘Linux’ for ‘Guest Operating System’
- For version:
- If Arch Linux is listed choose that
- If not choose ‘Other Linux 6.x kernel 64-bit’
- then click next
-
Name the Virtual Machine
Name: berserkarch # use whatever you like
Location: <this section would be pre-filled>
now click on next

-
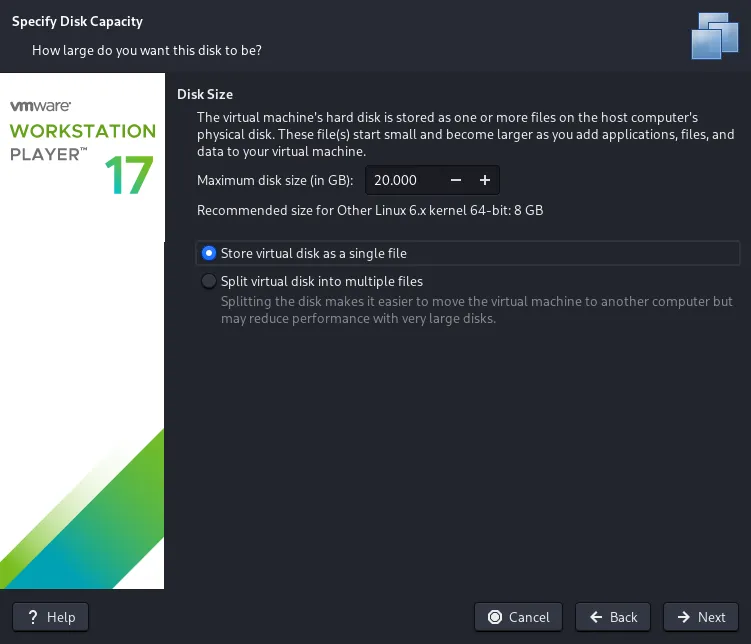
Hard Disk
Size: 60 GB # atleast give it this much- Select
Store virtual disk as a single file - now click on Next
- Select
-
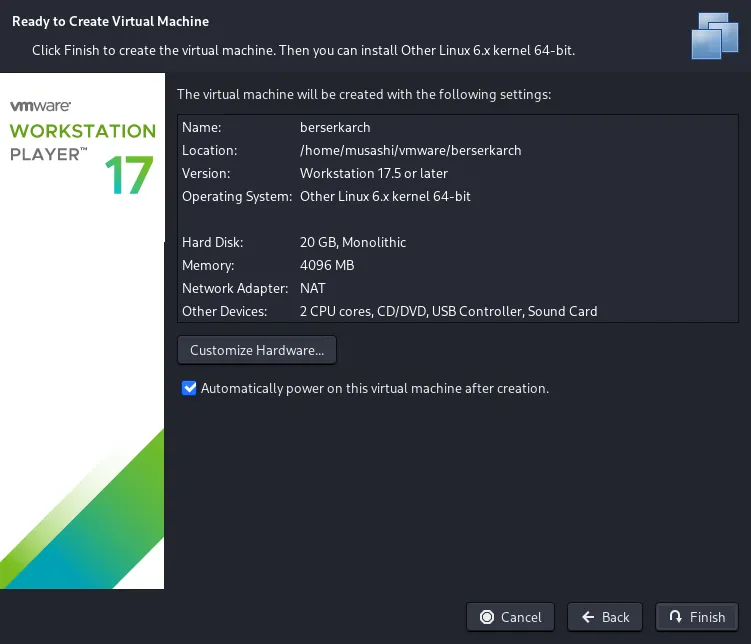
Customize VM Options
- Now click on ‘Customize Hardware’

-
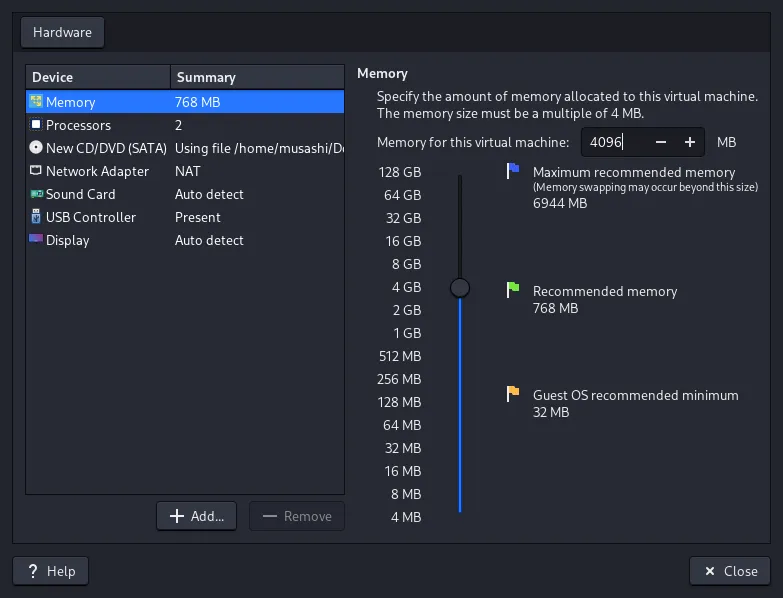
Specify the RAM
Memory: 4096 MB # minimum -- at-least try 8192 MB- now click on Close
- Create the VM
- now click on Finish to create VM.
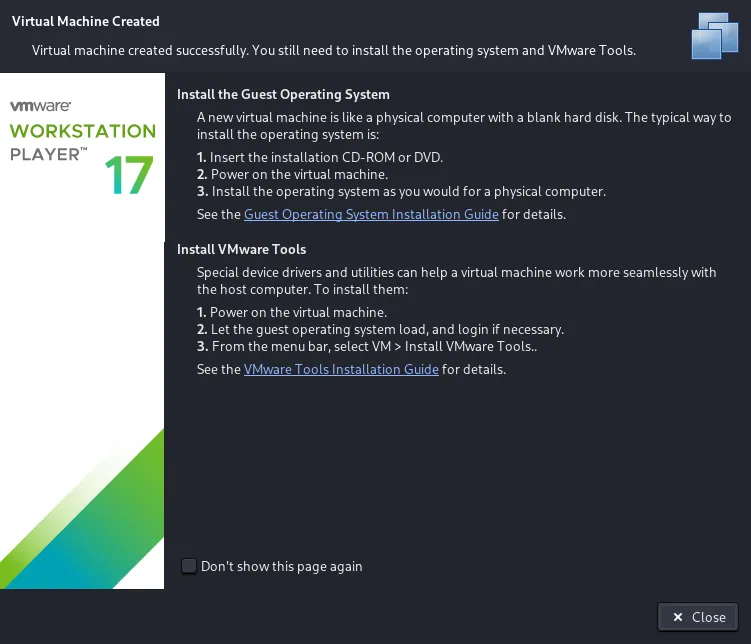
Step 3: Start the VM
Click on close and the VM will be started, manually start the VM.
Installation Process
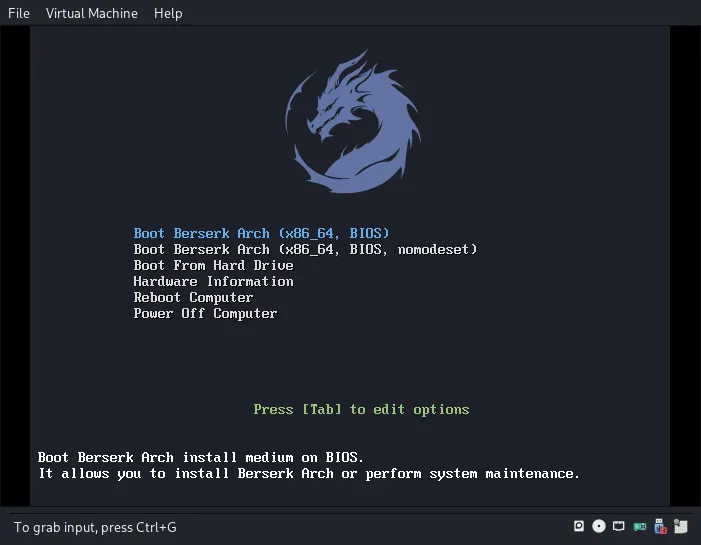
Step 1: Boot from ISO
- Boot Menu Selection
- Select “Boot Berserk Arch (x86_64)” and hit enter.
- Wait for live environment to load
Step 2: Live Environment
The system will boot into XFCE DE, for the password use liveuser:liveuser
Pre-Installation Checks
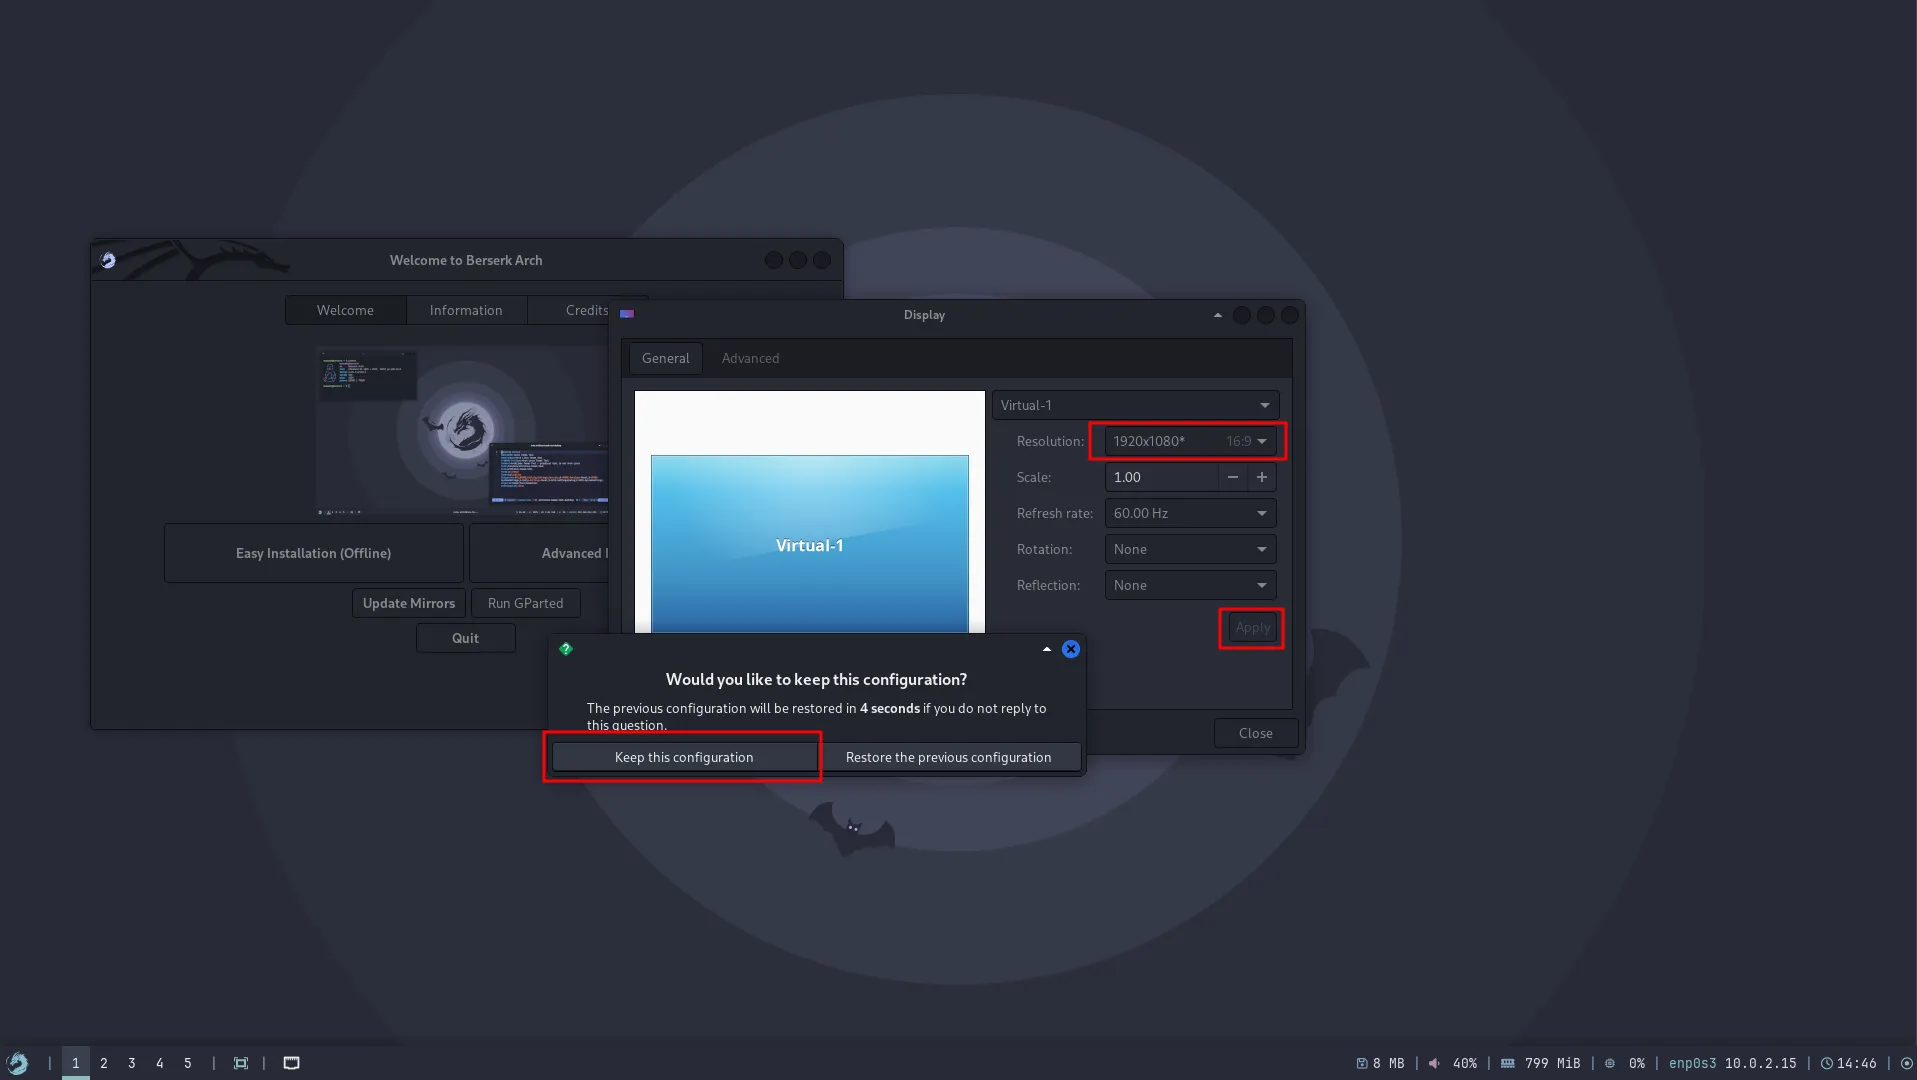
- Display Resolution
For setting up the correct display resolution,
- Right click on the desktop
- choose Settings > Display
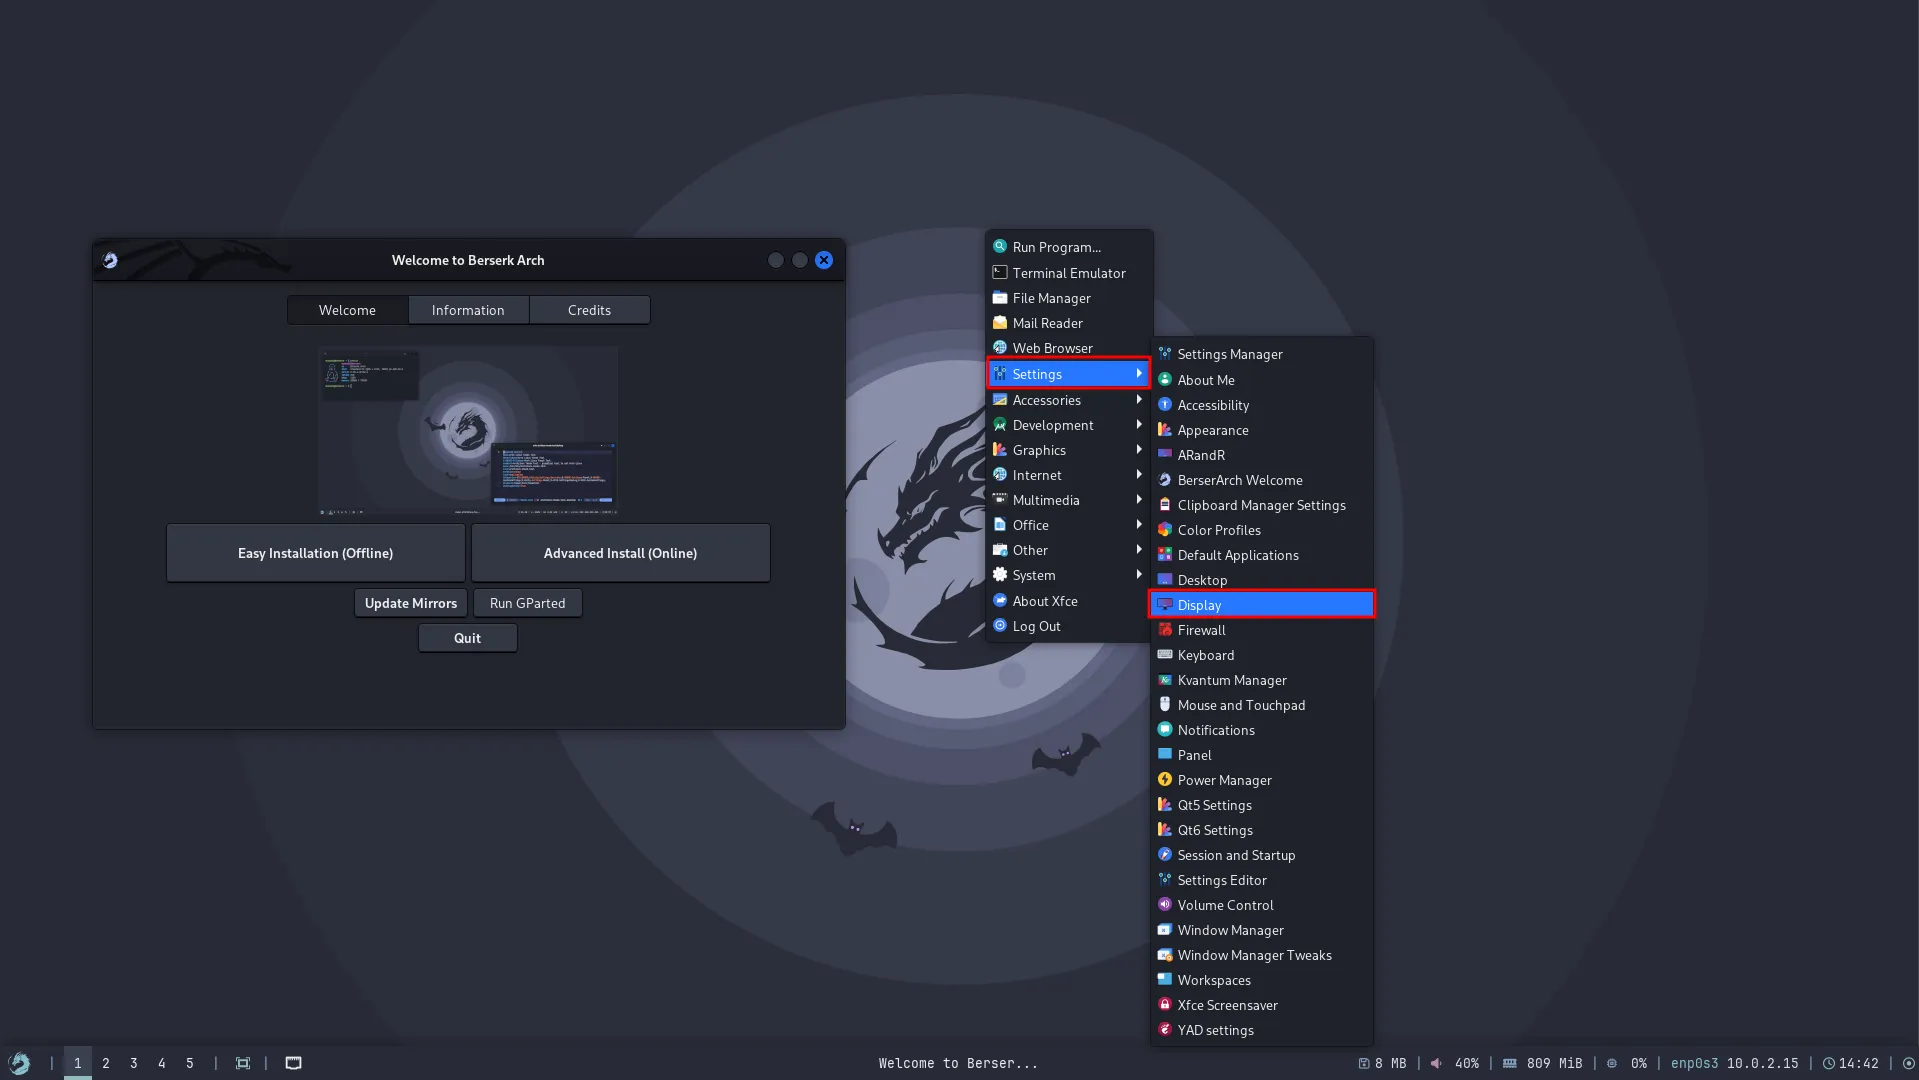
- Set the resolution
- Now choose the correct resolution
- Click on Apply
- Then click
keep the configuration
Installation
Now everything is out-of-way, we can move straight to installation.
Here’s the installation guide, move on and install the system.